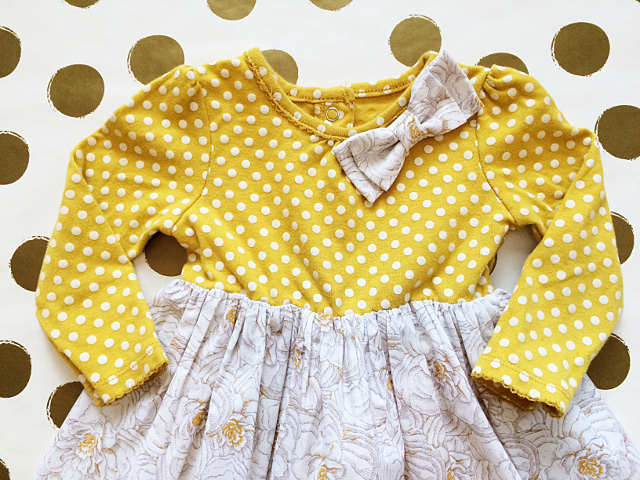
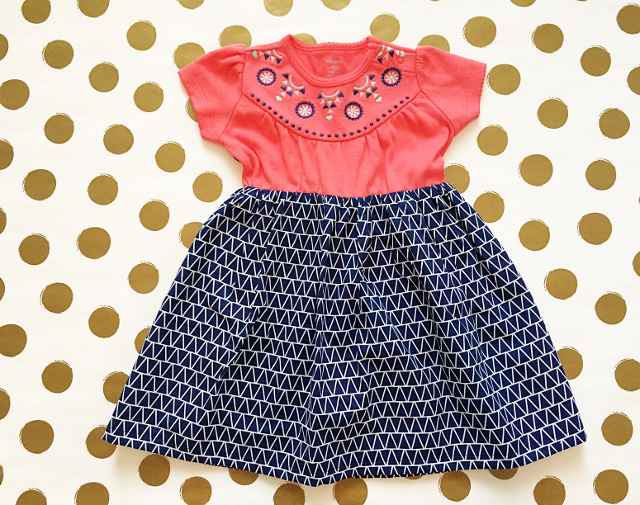
Hello all! A friend of mine is having a baby girl and commissioned me to turn some plain baby onesies into little dresses. I loved the idea and it was so easy that I decided I needed to do the same with some of Jensen's onesies! And come on - it was a good excuse to go fabric shopping! ;) I made a tutorial to share because my technique is a little different than some of the methods I have seen online - I opted to add an elastic waist so that the skirt would gather a little more but still be able to stretch over Jensen's head! You can choose to keep the onesie in tact under the skirt portion- or if your baby has grown and the onesie is too short just cut off the bottom! (tip: make the bottom you just cut off into an easy diaper cover by folding over the cut edge and stitching on some elastic!) Happy sewing!


You only technically need 14 inches of 45 inch wide fabric, but it's good to go ahead and get 1/2 yard because then you have extra to use to make a headband or embellishment on the bodice of the dress!
1. Start by serging, zig zag stitching, or pinking the two long ends of your fabric to minimize raveling. Form a tube by stitching together the two short ends and press the seam open. Hem the bottom of the tube, this will be the bottom of the dress. I did a fairly wide hem because I like that look.
2. Sew two rows of basting (the longest stitch length) stiches about 1/4 of an inch apart at the top edge of your tube. Pull threads to gather up the skirt until it is slightly wider than the onesie. You'll want to mark the front and back centers and sides so that you can evenly disperse the gathers.
3. One the right side of the onesie draw a line 5/8ths of an inch below where you want the top of the skirt to hit, also mark the front and back centers and side seams so you can match up your onesie. You can use a regular pen or whatever you want because the skirt will cover your line anyways.
4. Make sure your skirt is wrong side out and pull the onesie through it so that you can only see the bottom portion of the onesie. Match up the gathered edge of the skirt with the line that you just drew, matching centers and sides and stretching the onesie to fit - use lots of pins if you have to. Now stitch a straight 5/8ths of an inch seam. Be careful to only stitch through one layer of fabric and one side of the onesie, you don't want to stitch the onesie shut.
5. Cut a length of elastic that is slightly smaller than the circumference of the onesie and sew the ends together so that you have a loop. Now mark the front and back centers and the sides. Stitch the elastic down onto the seam allowance with a zig-zag stitch (if you kept your onesie in tact this will just be one layer of the fabric you used for the skirt, or if you chopped off the bottom of the onesie the seam allowance will have a layer of skirt fabric and a layer of onesie fabric).
6. Flip your dress right side out and press the seam.This will make the seam lay flat as well as help your elastic shrink back so that your skirt portion is nice and gathered! Admire your handiwork! *Optional: make cute headbands, hairbows, or embellishments for the dress bodice with your fabric scraps!*


