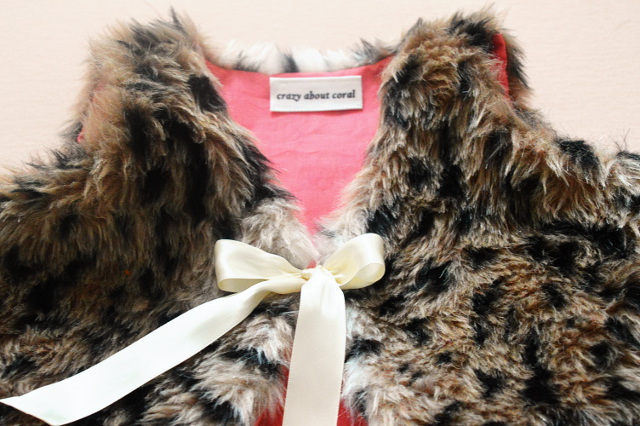
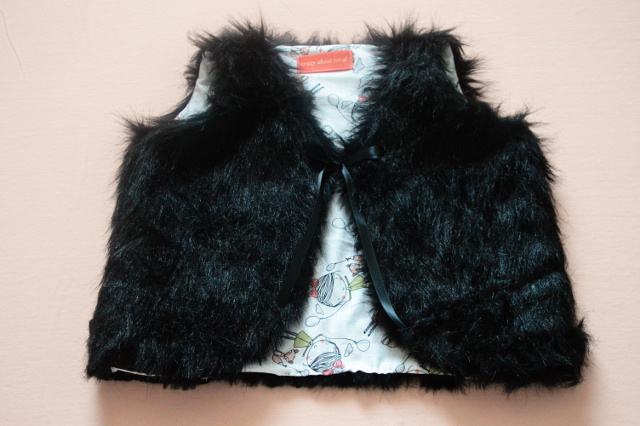
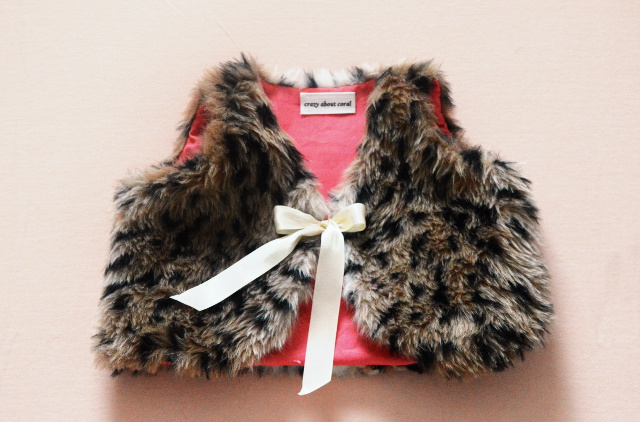
Hey all! Happy New Year!! Today I'm sharing this adorable DIY tutorial for making a toddler sized lined, faux fur vest! I have been spotting cute ones in the stores recently but to me they are too expensive! So, armed with two 50% off coupons and some Christmas gift cards (and finally some cold weather here in Texas so Jensen can wear these without sweating!!) I headed to Joann's to purchase some faux fur! I couldn't decide between the leopard or classic black so I just decided to do both! :) FREE downloadable pattern for size 2T-3T here I got enough fabric to make a vest in each color for myself so Jensen and I can totally be twinsies and I also made two itty, bitty baby ones for two of my friends that each had baby girls this past week!!

Detailed instructions after the break!
Supplies:
Printable Pattern
Faux Fur
Lining fabric - I used basic quilters cotton
sewing supplies (machine, thread, scissors, pins, needle for hand stitching, etc)
Ribbon for vest closure (optional) - about 11 inches long per side
Directions:
Cut out fabric: Back pattern piece needs to be cut on the fold. Cut 2 vest fronts, but flip the pattern piece face DOWN for one cut otherwise you will end up with two of the same side!
Cut out your lining pieces the same way. Your pieces should look like the diagram above pictured in step 1.
Use 1/4 seam for all stitching.
1. Sew vest front pieces to vest back pieces at the side seams with RIGHT sides together. Do this for both faux fur pieces and the lining pieces.
2. Now place lining portion on top of faux fur portion with RIGHT sides together. Pin in place. If you are adding ribbon, slide it in at this time so it is sandwiched between the two layers with only a little bit sticking out that you will catch into the seam. Now stitch around the whole vest except for the tops of the shoulders and a small opening on the bottom back of the vest. You need to leave these open that way you can turn the vest right side out.
3. Turn the vest right side out and with the faux fur towards the inside and the lining facing out, stitch the shoulder seams together.
4. Turn faux fur side outward and using a slip stitch, handstitch the opening you used for turning closed. Tie the ribbon in a bow and admire your handiwork!!!
A few tips! *Cut your faux fabric on a hard surface because it sheds along the cut edges and you will want to be able to sweep it up easily! *Push the fur away from the edges (towards the middle of the vest) to keep as much of it as possible from getting caught in the seams. This will help your vest look full and fluffy around the edges! *If your ribbon is synthetic you can (quickly!) run a lighter along the cut edges to keep it from unraveling!
Happy Sewing!


How many yards did you need for the kids vest?
ReplyDeleteA half of a yard each of fur and of lining fabric will be enough for 1 vest in this toddler size!
DeleteHave you ever made this with real fur?
ReplyDeleteI haven't, I don't see why you couldn't though! :)
ReplyDeleteThanks, Anna, this is SO cute! You mention you made a smaller version for your friends' babies. How did you grade down the pattern? I have a 10 month old granddaughter that I'd love to make this for!!
ReplyDeleteIt can be seen that 918kiss download 2019 the online gambling site casino is ready. Providing a full help for every players requires unaided a few steps to easily apply for online gambling site casino. You can measure online sports betting, or online casinos, and statute real keep games easily. There is after that a teaching system for new players who have never met before, even if you are a beginner, you can become a master of Gaining.https://918kiss2020.com/tag/918kiss_download_2019/
ReplyDeleteIs the toddler fur vest pattern still available?
ReplyDelete