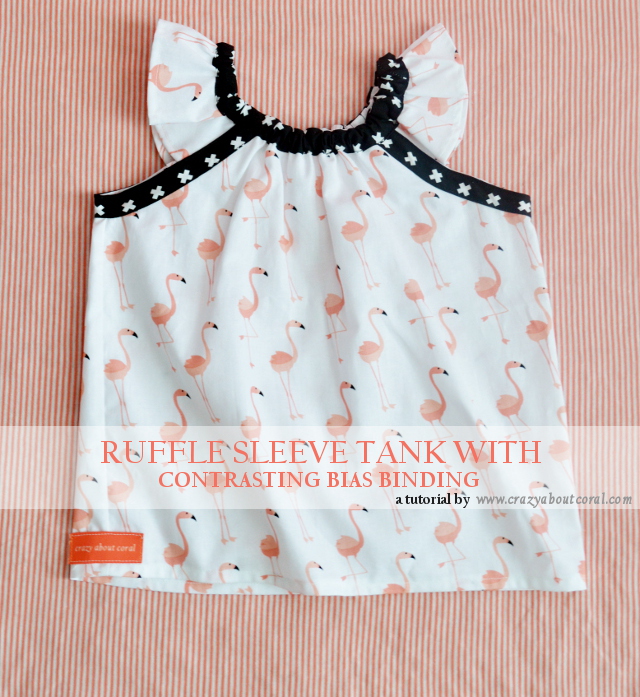
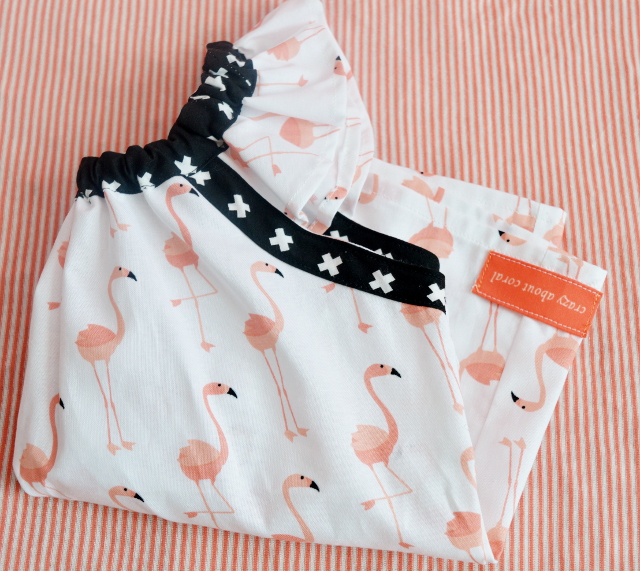
Hello everyone! Today I'm popping in to share this easy tutorial for this adorable ruffle sleeve tank top! I purchased this cute flamingo fabric at Hobby Lobby in early spring and thought it would work perfectly for a summer top for Jensen. I had some black and white fabric left from a different project that I used for the bias binding and it looks great contrasting with the flamingos! The top was super easy to stitch up and features an elastic neck for easy dressing!
Print my free 2T pattern for the tank top HERE and follow the directions after the break! Happy Sewing! :)
1. Cut out fabric pieces using pattern and stitch side seams with right sides together. Finish edges with serger or pinking shears.
2. Stitch a narrow hem on edges of ruffle sleeve pieces to finish the edges
3. Cut strips of double fold bias tape and attach to the underarms of the tank.
4. Place sleeves underneath the front and back pieces and stitch in place.
5. Cut a third piece of bias binding, unfold it, and stitch it down all the way around the unfinished sleeve edges and neckline of front and back pieces on the WRONG side of the shirt.
6. Turn shirt right side out, fold bias binding in place and stitch down leaving an opening to insert your elastic.
7. Insert your elastic to gather the neckline, stitch opening closed. Finish the hem of the shirt with a basic hem! That's it!! :)


No comments:
Post a Comment
Each of your comments brighten my day and make me smile! Thanks for reading!