


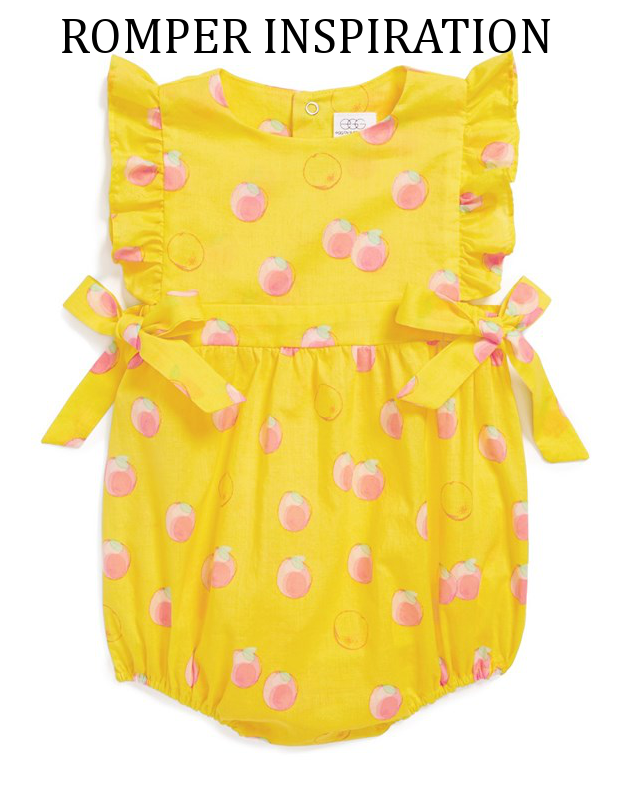


Click Through for more detailed sewing instructions!
Instructions:
I used a onesie that currently fits Jensen to trace my fabric pieces and a 5/8ths seam allowance.
Approximate measurements:
Waistband: Circumference of the onesie + 1.5-2 inches X 3 inches wide
Bow pieces: about double the length of the waist piece X 2 inches wide
Sleeve pieces: triple the length of one of the bodice piece sides
Front bodice piece: fold onesie in half and trace it on the fold of the fabric. Add 5/8th of an inch for your seam allowances. Cut the front a little lower than the back bodice piece.
Back bodice piece: fold onesie in half and lay it 5/8th of an inch away from the fold (this is so we can cut it later and it will be where you add the center back zipper), add 5/8ths of an inch around the rest of the piece as well.
Bottom Brief pieces: using your folded onesie as a guide trace around the pieces - the back bottom piece should be longer and wider so it can cover the diaper. Add 3 inches on either side for gathering allowance.
Prep Work:
Fold waistband in half lengthwise with wrong sides together and press and set aside. Fold 1 bow strip together lengthwise with right sides together. Stitch a narrow hem and turn inside out with a safety pin or bodkin, press flat and repeat with other piece. Turn ends under at an angle and handstitch or fabric glue in place.
Sewing Steps:
1. With right sides together match front and back bodice pieces together. Stitch together at shoulder seams. Press seams open. Repeat for other front and back bodice pieces.
2. With right sides together, layer both bodice sections together and stitch around neck seam. Trim seams and clip around the curve to eliminate the bulk in the seam. Flip seams to the interior and press flat.
3. Baste layers together at the side. You should still be able to open out the bodice pieces so the neck hole is in the middle. Both sides will be the fashion fabric so at this point pick which side looks best and use that as your exterior.
4. With wrong sides together stitch side seams of briefs together with a 1/4 seam. Clip seam to 1/4 of an inch. Turn fabric so that right sides are together and sew another seam to encase your first seam (french seam). If you have a serger, you can serge the edges, I don't have one and I love the look of french seams.
5. Form a casing on the leg openings of the briefs by making a narrow hem. Thread narrow elastic in using a safety pin or a bodkin. Stitch elastic down at ends when it it gathered to your liking. Sew a narrow hem on the straight edges of the briefs - this is where you will add snaps in the last step.
6. Sew 2 rows of basting stitches along waistband of briefs and gather up to circumference of the waistband piece
7-9. Sew a narrow hem on the ruffle pieces. Sew basting stitches along the straight edge and gather. With right sides together, place ruffle pieces onto the bodice front and back piece. Sew a seam along the edge. I did a french seam here as well, but you don't necessarily have to.
10. This step is a little tricky to explain. Take your brief piece and the pin the waistband to it with the opening centered on the back of the briefs with raw edges together. The brief piece should be positioned with the right side out. Layer on the bodice piece with wrong side out - make sure that it is centered. The shoulder seams of the bodice piece will kind of wrap around the brief piece down by the leg openings. Sew a 5/8 seam but leave a 5/8 of an inch open on either side of the waist band back center. Turn right side out. You will see that the bodice piece is firmly secured at the seam of the waistband and the briefs but that the band kind of flops open where the front and back bodice pieces are. You will need to handstitch this down.Cut down the center back to match the cut that is already on the waistband piece. This is where you will add your zipper.
11. Tie your long strips into bows and handstitch them on securely at the sides. Add a zipper by following the instructions on the back of the zipper packaging. Add snaps at the crotch of the briefs and you're done!
*A quick tip* - Extend your zipper further down the center back. I had a very hard time getting Jensen dressed in the romper because it was hard to get over her shoulders because my zipper didn't unzip far enough. I'm probably going to rip out my zipper and add a longer one...
Happy Sewing!


I love this absolutely love this.
ReplyDeleteThat looks amazing I might have to try and make one for my granddaughter she's only 7 weeks old so plenty of time to get it right 😁
ReplyDeletethis is so adorable, I absolutely adore crisscrossed back and flutter sleeve rompers of any style whether they be bubble, pants, or dresses doesnt matter love them all! Im a beginner at sewing rompers and bummies and such, would u consider this skill level something a beginner could do, I have basic skills and know how plus creativity just want to ensure i dont bite off more than i can chew. TIA
ReplyDeleteThis is as cute as can be, and the fabric is perfect!
ReplyDelete