


Sewing instructions after the break! Happy Sewing!
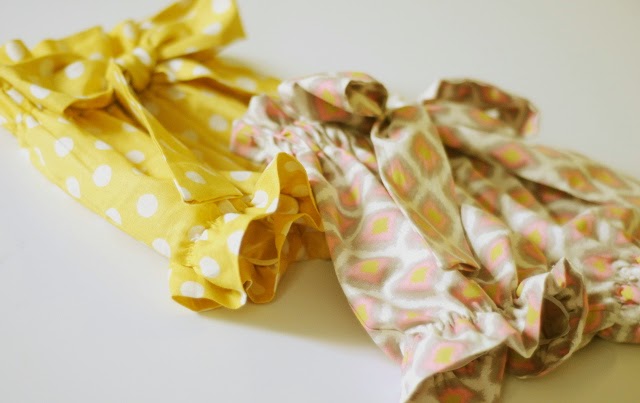
What you'll need : a little less than 2/3 of a yard (I used cotton) to make shorts that will fit 12m-18m. 1 inch elastic to fit your baby's waist. I used about 17 inches. 1/4 of an inch elastic for leg openings. I used about 10 inches on each leg. Thread to match, sewing machine, and a safety pin.
Step 1. With right sides together sew inseams. Step 2. Turn one piece right side out and slide it inside the other piece so that right sides are together and inseams are matched up. 3. Sew along the curved seam. Be careful not to catch any other layers in your seam. Step 4. Now pull the legs apart and you should have one big pair of shorts! With the wrong side out, turn under the leg hems 1/4 of an inch, press. Then turn the hem one more time about 1.5-2 inches. For the waist line, turn under 1/4 of an inch and press. Then turn again 2.5 inches. Sew close to the fold line. Then, sew another row of stitches 1 1/4 inches away from your first row. This will form a casing in which you will insert your 1 inch elastic. Step 5-6. Rip open a portion of the middle seam so you can insert your elastic into the waistband casing you just made. Use a safety pin or a bodkin to thread your elastic through. Once you get the elastic through, sew both ends of the elastic together, then sew back up the seam you inserted the elastic through. I just tacked the seam down with a machine stitch which also sewed the elastic in place. You can hand sew the seam back up if you don't want your stitching to show, I didn't care because I knew that the bow would cover it anyway. For leg openings. Sew 1/4 elastic strip directly onto the fold line that you pressed, stretching the elastic as you go. This will form gathers and sew your hem in one step! Step 7. Take two of your bow pieces and sew one end together with right sides together. Repeat for the other two pieces. Step 8. Stretch out your bow pieces and place one on top of the other with center seams matching and right sides together. Sew a narrow seam on both edges, leave the ends open. Turn inside out and press ends under at an angle. Hand stitch ends closed or hot glue them -I won't tell ;) Tie your long strip into a bow. Step 9. Attach your bow to the shorts by handstitching. I actually just safety pinned mine on because I thought that I might not always want the shorts to be worn with the bow. That's it, you're done! :)


No comments:
Post a Comment
Each of your comments brighten my day and make me smile! Thanks for reading!