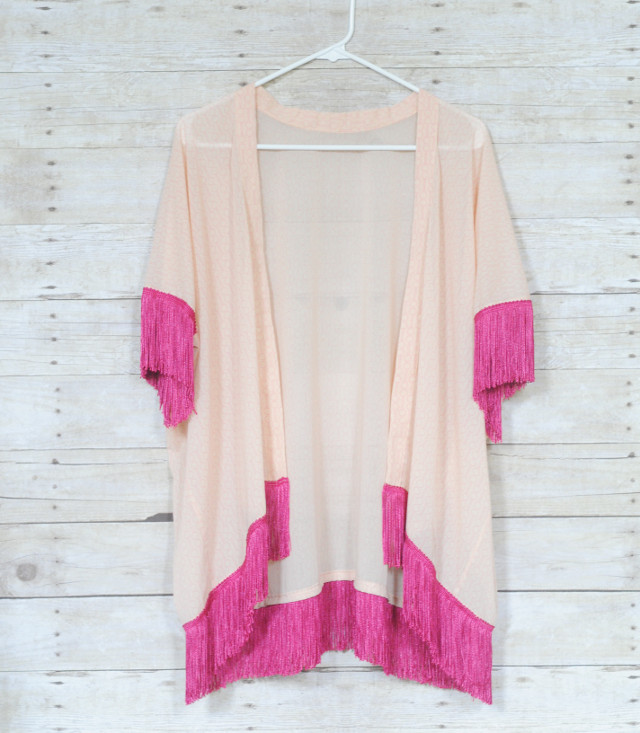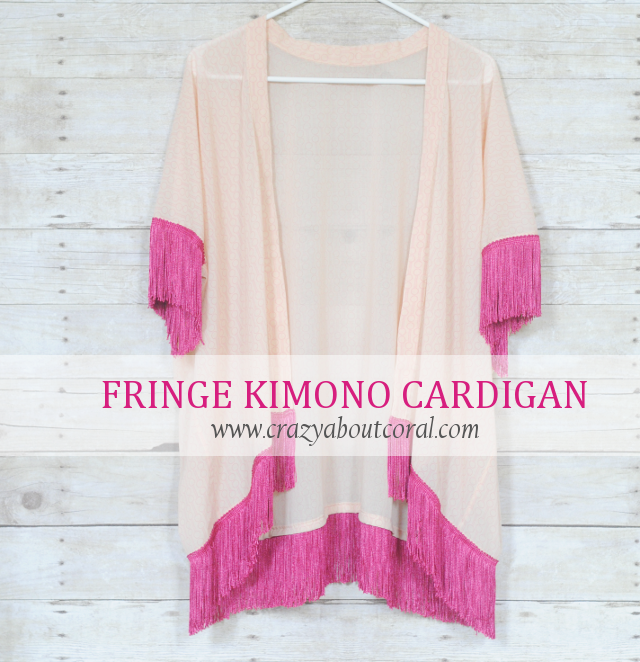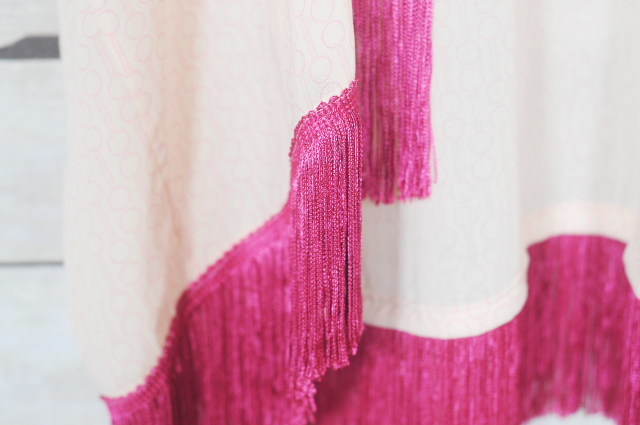

 Kimonos are super on trend right now for this spring! I've been seeing them in stores all over! This peachy pink lightweight cotton voile fabric has been sitting in my stash for a while and thought it would make the perfect kimono. I added fringe because, um, so cute! If you've never, ever sewed before this diy kimono is the perfect first project! No tricky seams here, just straight stitches!
Sewing instructions:
1. Prepare your bias binding by folding in half and pressing, then fold two edges towards the center line you just pressed. With right sides together, pin bias binding around the curved edge you cut, stitch in first fold line. Then fold binding over raw edges, and stitch in place on the other side.
2. Fold your kimono in half with right sides together and stitch up the side seams - stopping and backstitching about 6-8 inches from the fold line. This will form your arm holes.
3. Form a hem along the bottom by folding under 1/2 inch, then fold under another 1/2 inch - pin in place. Then pin your fringe on top of the hem. Stitch your fringe in place, this will also tack your hem in place as well. Repeat this for both of your arm holes. That's it! :)


No comments:
Post a Comment
Each of your comments brighten my day and make me smile! Thanks for reading!