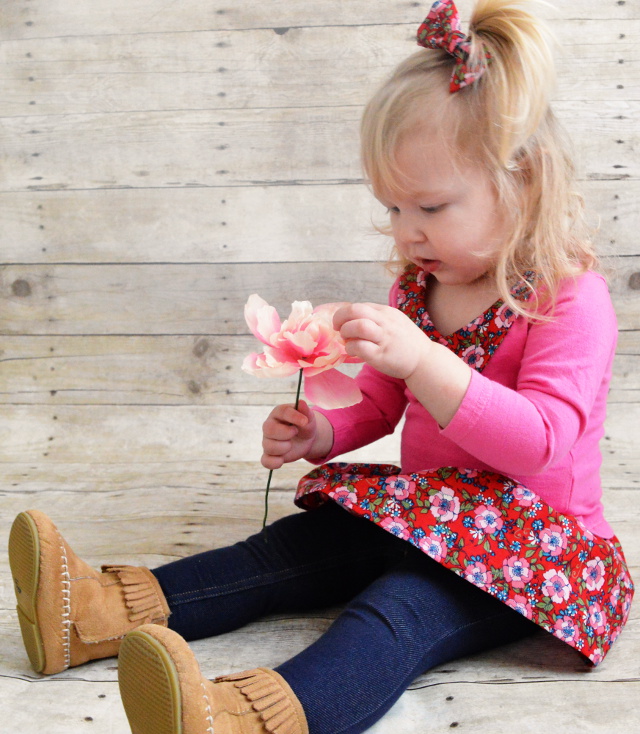
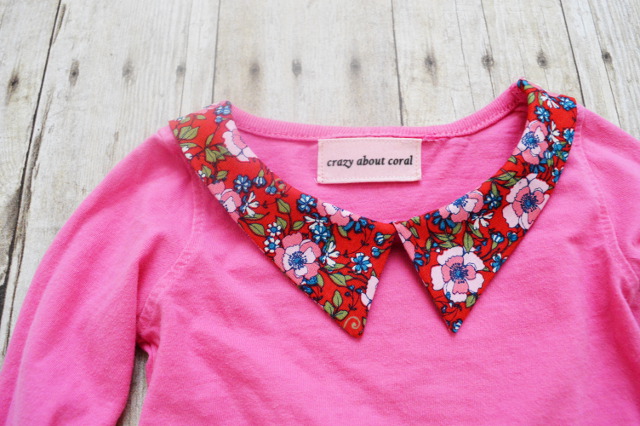
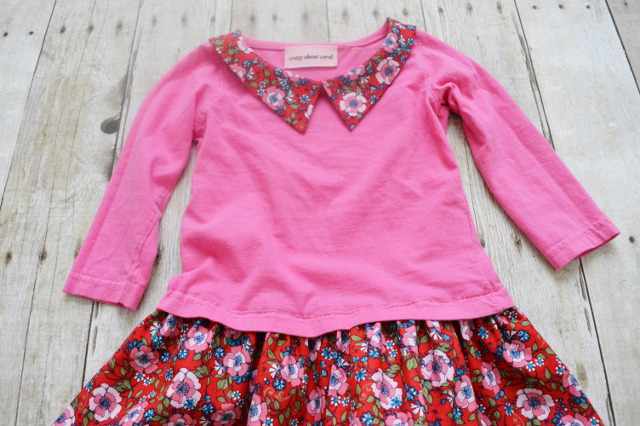
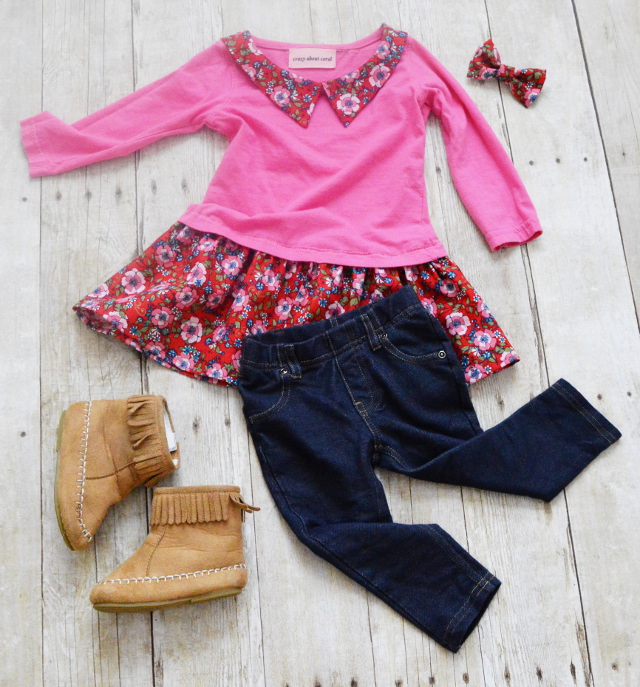
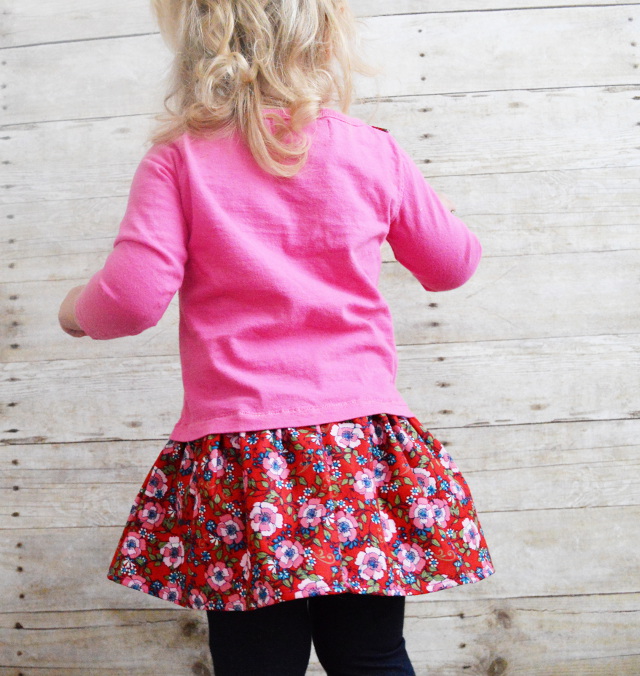
Hey everyone! Today I'm sharing an easy tutorial for refashioning a T-shirt!! I thrifted this pink shirt for Jensen earlier this fall because it was a nice color (um, pink!) and it was plain so she could wear it with a lot of her printed leggings. But, the first time she wore it I thought it seemed too short when she lifted her arms up and moved around (which, lets just be honest, is a lot since she is an active toddler!) So, I decided I would just add a gathered piece of fabric to the hem! I pulled out this pretty floral fabric that I've had in my stash and thought it would look great paired with the shirt! And because just a gathered hem would be boring, I decided to add a pointy faux collar to the front of the shirt to dress it up! Here's the downloadable pattern I created for the pointy faux collar. I love how this refashion elevated this simple, T-shirt to a more custom looking blouse! So of course I cut out the original tag and added my own label! Ha! This project is very simple and from start to finish only takes about an hour! Yay! Happy Sewing!
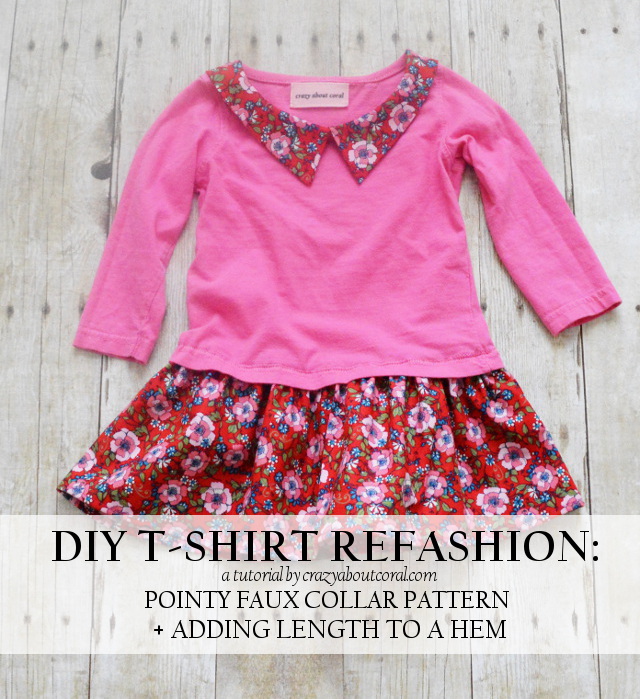
 tutorial after the break!
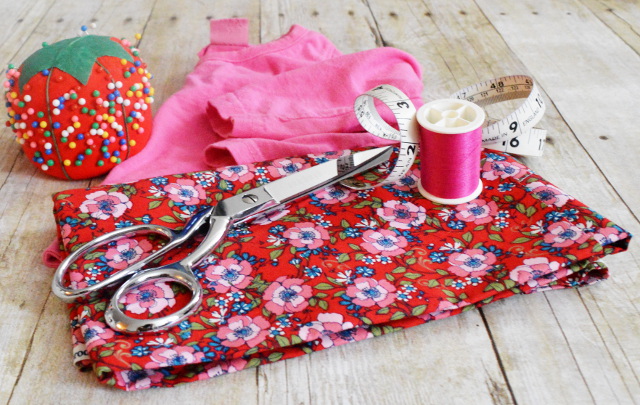
First gather your supplies! Scissors, pins, measuring tape, a t-shirt you want to refashion and coordinating fabric, matching thread, and my printable pointy faux collar pattern!
1. Fold your fabric in half place your pattern face up and cut out the collar pieces. Then, flip the pattern piece face down and cut again. You will end up with 4 collar pieces. If you don't flip your pattern piece face down then you will end up with pieces for only one side of the collar. Place right sides together and stitch around the outer edges with a 1/4 inch seam. Do not stitch on the neck edge. Now clip your corners, being very careful to not clip through the seams. Turn right side out and press flat.
2. Stitch the neck edge closed with a narrow zig zag stitch or serge.
3. Slide the collar pieces inside the neck of the shirt. Slightly overlap the collar pieces at the center. Stitch into place.
4. Now, turn your collar pieces outside of the shirt and press in place. You can topstitch around collar if you want, but I didn't want a visible seam on mine. Instead I stitched the collar down on the shirt at the shoulder seams only.
5. To make the gathered fabric skirt portion of the shirt you will need a strip of fabric that is about 5-7 inches wide (mine was 7 - it just depends on how long you want yours to be) and double the circumference of your shirt. Fold your fabric strip in half and stitch a straight 1/4 inch seam. Finish one edge with a narrow hem and do a zig zag stitch or serge the upper edge to prevent it from fraying. (not necessary if you're using a knit fabric). Now sew two rows of basting stitches along the upper edge of your fabric circle/tube about 1/4 inches apart. Pull the threads so that the fabric is gathered to match the circumference of the shirt hem.
6. Slide the gathered fabric portion inside the shirt and stitch it down right on top of the existing hem. That's it!!










No comments:
Post a Comment
Each of your comments brighten my day and make me smile! Thanks for reading!